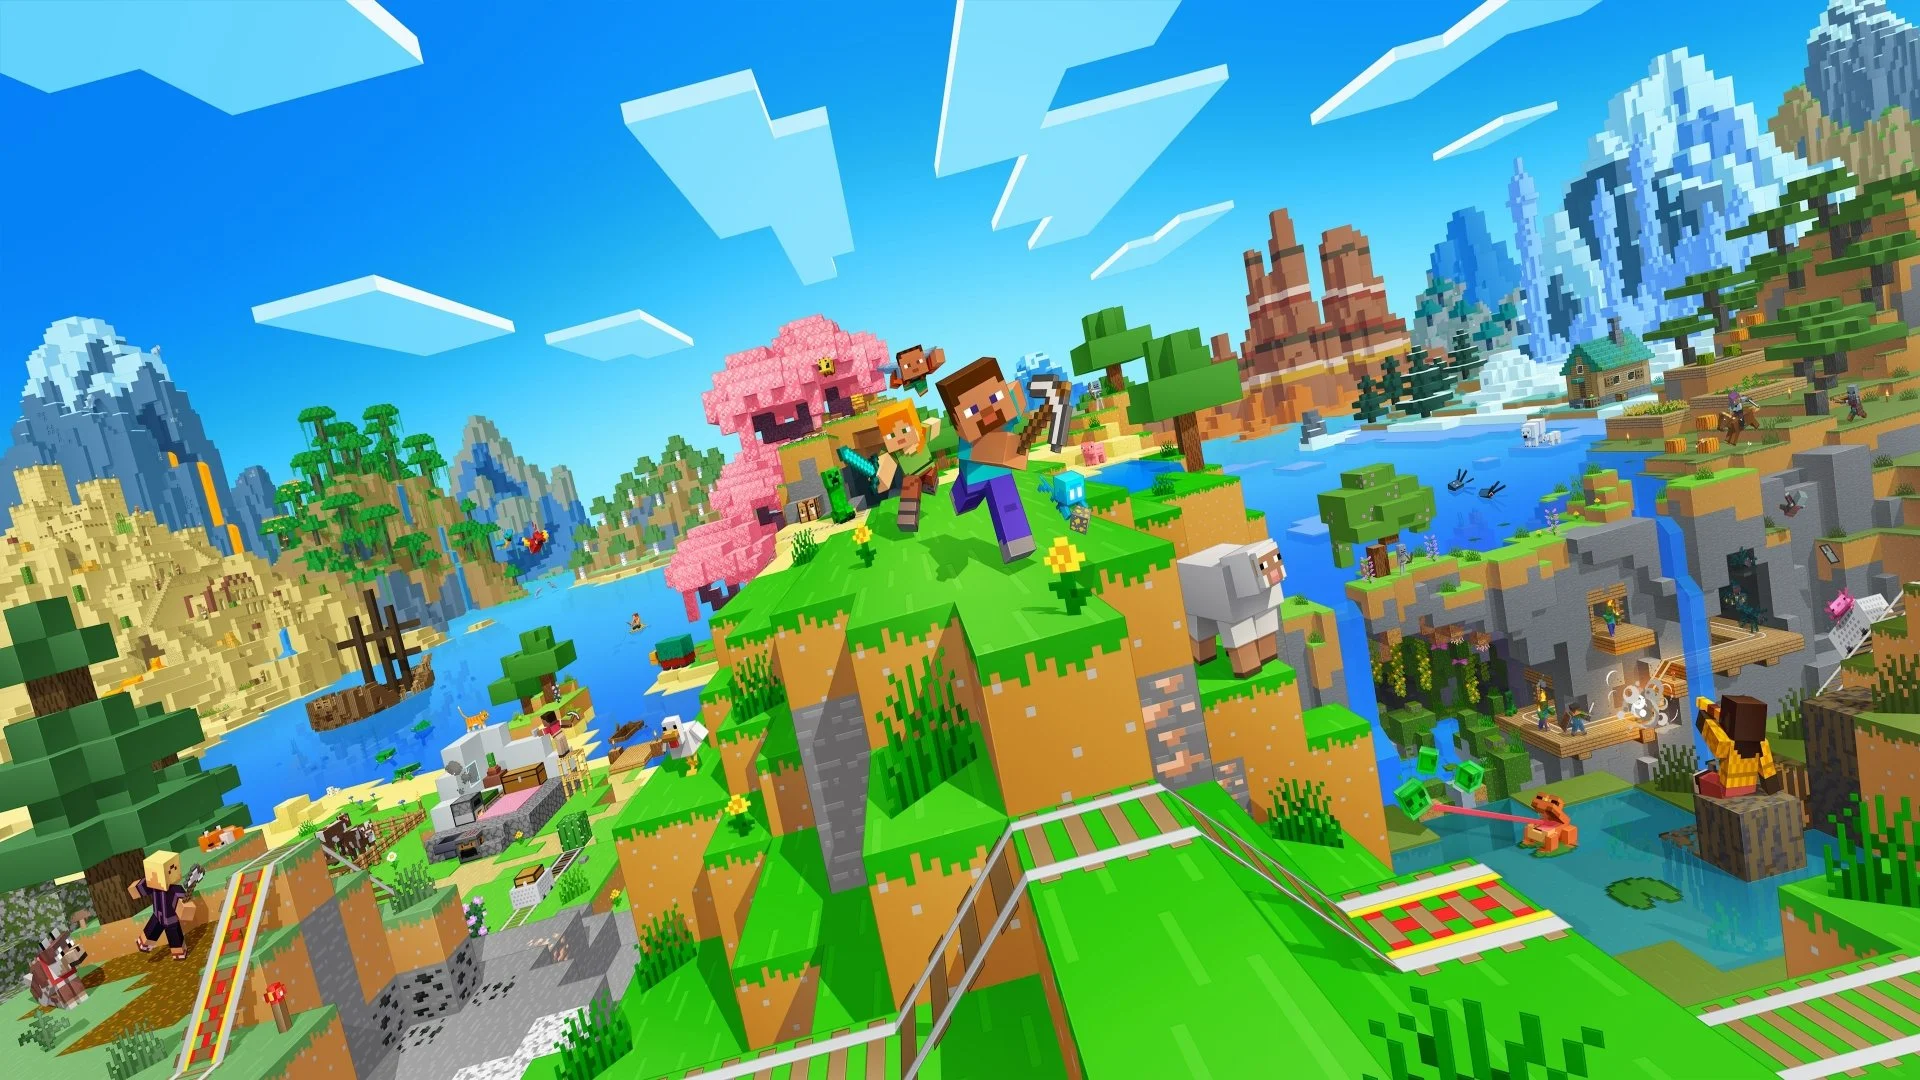
How to Create a Minecraft Server with Mini-Game Plugins
Creating a Minecraft server with mini-game plugins may seem complex, but with the right steps, it can be easily accomplished. This article will guide you through the process of installing and configuring a Minecraft server, as well as adding plugins to enhance your gaming experience.
Prerequisites
Before you begin, make sure you have the following:
- Java: Minecraft requires Java to run. Ensure you have the latest version.
- Server Software: Download the Minecraft server from the official website.
- Internet Access: To download plugins and allow players to connect.
Installing the Minecraft Server
To install a Minecraft server, follow these steps:
Downloading the Server
Go to the official Minecraft website and download the minecraft_server.jar file.
Creating a Folder for the Server
Create a folder on your computer to place all the server files. For example, create a folder named MyMinecraftServer.
Starting the Server
Open a terminal or command window and navigate to the created folder. Use the following command to start the server:
java -Xmx1024M -Xms1024M -jar minecraft_server.jar noguiThis command starts the server with 1 GB of memory. You can adjust the -Xmx and -Xms values according to your machine's resources.
Configuring the Server
Once the server is started, a eula.txt file will be created. Open this file and change the line eula=false to eula=true to accept the license agreement.
Configuring Server Properties
The server.properties file contains your server settings. Here are some important settings to configure:
- level-name: world name (by default, it is world).
- max-players: maximum number of players allowed.
- online-mode: if enabled, the server will check if players have an official version.
You can modify these settings with a text editor. For example:
level-name=MyWorld
max-players=20
online-mode=true
Adding Plugins
To enrich your server with mini-games, you will need a plugin manager. We will use Spigot or Bukkit, which are alternatives to the standard Minecraft server.
Downloading and Installing Spigot
You can download Spigot by following these steps:
- Go to the SpigotMC website.
- Download the BuildTools.jar file.
- Run the file with the following command:
java -jar BuildTools.jarOnce the build is complete, you will get a spigot.jar file that you can use for your server.
Configuring the Spigot Server
Replace the minecraft_server.jar file with spigot.jar in your server folder. Then, start the server as before.
Installing Mini-Game Plugins
Now that your server is using Spigot, you can install mini-game plugins. Here are some popular plugins:
- MiniGames - A collection of various mini-games.
- Survival Games - A plugin to create survival games.
- Hunger Games - Based on the famous Hunger Games concept.
Installing a Plugin
To install a plugin, follow these steps:
- Download the .jar file of the plugin from its link.
- Place the file in the plugins folder of your server.
- Restart the server to activate the plugin.
Configuring Mini-Games
Each mini-game plugin will have its own configuration files that you will need to customize. This may include settings such as:
- The maps used for the games.
- The specific rules for the mini-games.
- The permissions for players.
Example Configuration
Here is a simple example of configuration for a mini-game plugin:
games:
  - name: "HungerGames"
    max-players: 24
    map: "HungerMap"
    start-time: 30
This configuration defines a Hunger Games game with a maximum of 24 players, a specific map, and a start time of 30 seconds.
Conclusion
Creating a Minecraft server with mini-game plugins is an exciting project that can provide hours of entertainment. By following these steps, you will be able to set up your server and add various games for you and your friends. Don't forget to explore other available plugins to further enrich your gaming experience.